インストールは、コマンドラインに、次のコマンドを入力するだけでいけました。(結構時間がかかります。)
sudo apt-get update
sudo apt-get upgrade
sudo apt-get install fpc
sudo apt-get install lazarus
sudo apt-get install libfbclient2
プログラム(例えば、projetc1)の起動は、
sudo ./project1
なんですね。
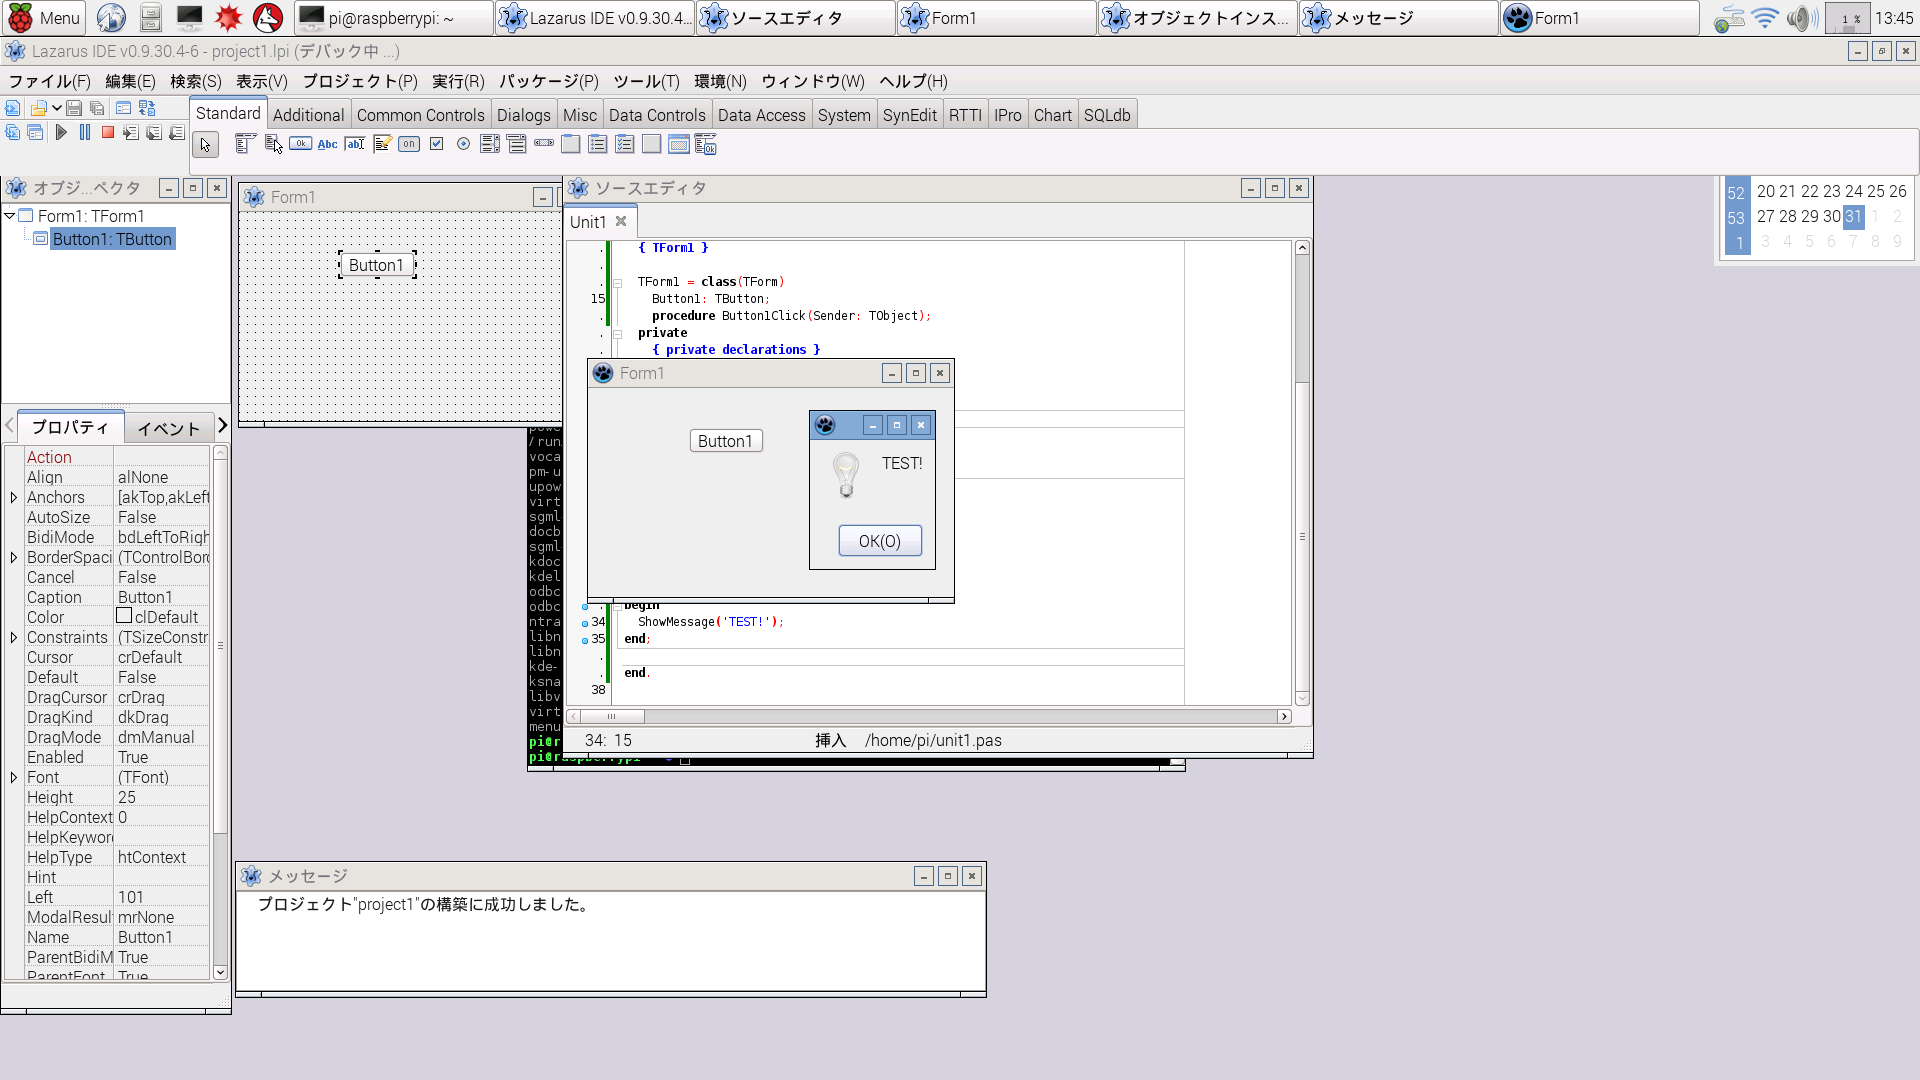
■ Raspberry Pi (ラズベリー・パイ) で Lazarus (FreePascal)
・2020/12/17 追記
こちら↓の情報によると、下記の方法でインスト―ルされるのは、現時点では Ver.2.00 で、パッケージを追加できないのだそうです。
つまり、PythonForLazarus をインストールできない。・・・ということのようです。
「天晴の小部屋」様:Lazarus 2.0.8 for Raspberry Pi
とりあえず Lazarus を使ってみたい時は、以下のインストール方法で大丈夫です。
ほぼ Delphi ですね。
インストールは、コマンドラインに、次のコマンドを入力するだけでいけました。(結構時間がかかります。)
sudo apt-get update
sudo apt-get upgrade
sudo apt-get install fpc
sudo apt-get install lazarus
sudo apt-get install libfbclient2
プログラム(例えば、projetc1)の起動は、
sudo ./project1
なんですね。
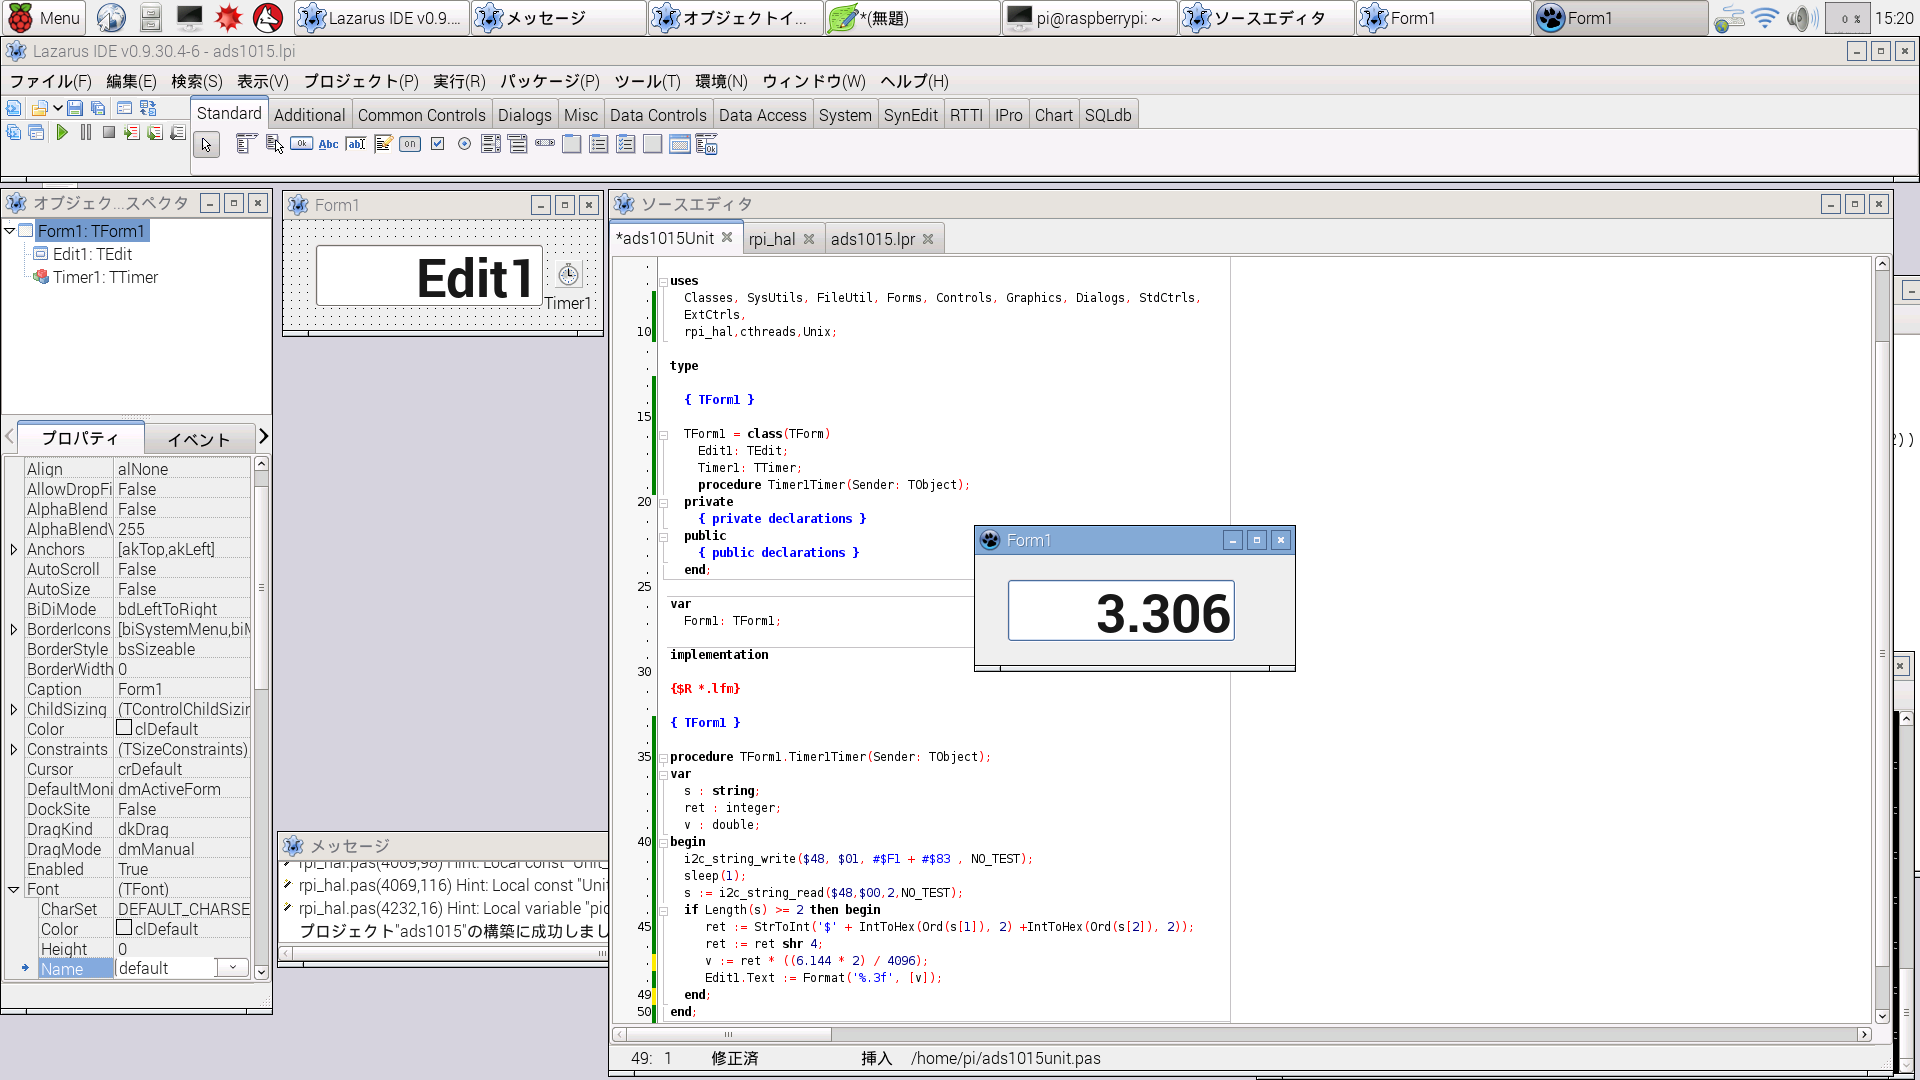
■ rpi_hal ユニットで、i2c を使う
ADS1015(12ビット4チャンネルAD変換)を使ってみました。
rpi_hal.pas ユニットを使っています。
そのままでは、ランタイムエラーで起動できないので、
メニュー-プロジェクト-プロジェクトオプション-コンパイラオプション-その他 のカスタムオプションに、-dUseCThreads を追加します。
終了時にエラー(例外クラス)が出る場合は、Uses 節の cmem をコメントアウトします。
unit ads1015Unit;

{$mode objfpc}{$H+}

interface

uses
  Classes, SysUtils, FileUtil, Forms, Controls, Graphics, Dialogs, StdCtrls,
  ExtCtrls,
  // 追加ユニット
  rpi_hal, cthreads, Unix;

type

  { TForm1 }

  TForm1 = class(TForm)
    Edit1: TEdit;
    Timer1: TTimer;
    procedure Timer1Timer(Sender: TObject);
  private
    { private declarations }
  public
    { public declarations }
  end;

var
  Form1: TForm1;

implementation

{$R *.lfm}

{ TForm1 }

procedure TForm1.Timer1Timer(Sender: TObject);
var
  s : string;
  ret : integer;
  v : double;
begin

  // $48 : ADS1015_I2C_ADDRESS
  // $01 : ADS1015_REG_POINTER_CONFIG
  // $00 : ADS1015_REG_POINTER_CONVERT
  // $F183 : 3CHを±6.144V (Gain 2/3) で変換 (0CH = $C183, 1CH = $D183, 2CH = $E183)
  // ±4.096V (Gain 1) の時は、 $F183 or $0200
  // 実際には、最大 VDD + 0.3V までしか測定できない

  i2c_string_write($48, $01, #$F1 + #$83 , NO_TEST);
  sleep(1); // 変換待ち
  s := i2c_string_read($48, $00, 2, NO_TEST);
  if Length(s) >= 2 then begin
     ret := StrToInt('$' + IntToHex(Ord(s[1]), 2) + IntToHex(Ord(s[2]), 2));
     // 下位 4 ビットは無関係
     ret := ret shr 4;
     v := ret * ((6.144 * 2) / 4096);
     Edit1.Text := Format('%.3f', [v]);
  end;
end;

end.
■ PiGpio ユニットを使ってステッピングモーターを制御
ステッピングモーター: ST-42BYG0506H (1回転ステップ数:200 基本ステップ角:1.8度)
ドライバIC: TB6674PG
※TB6674PG(TA7774P互換)と、TA7774PGの違い
TB6674PG : モータ電源 Vs1A、Vs1B > 6.5V (標準12V)必要
TA7774PG : モータ電源 Vs1A、Vs1B >= Vcc でOK
unit Unit4;

{$mode objfpc}{$H+}

interface

uses
  Classes, SysUtils, FileUtil, Forms, Controls, Graphics, Dialogs, StdCtrls,
  // 追加ユニット
  PiGpio;
type

  { TForm1 }

  TForm1 = class(TForm)
    Button1: TButton;
    Button2: TButton;
    procedure Button1Click(Sender: TObject);
    procedure Button2Click(Sender: TObject);
    procedure FormActivate(Sender: TObject);
    procedure FormClose(Sender: TObject; var CloseAction: TCloseAction);
  private
    { private declarations }
  public
    { public declarations }
  end;

var
  Form1: TForm1;
  GPIO_Driver : TIoDriver;
  Gpf : TIoPort;

implementation

{$R *.lfm}

{ TForm1 }

procedure TForm1.FormActivate(Sender: TObject);
begin
  if GPIO_Driver.MapIo then begin
    Gpf := GpIo_Driver.CreatePort(GPIO_BASE, CLOCK_BASE, GPIO_PWM);

    // GPIO20, 21, 16 を OUTPUT に
    // ICの 3 番ピンに接続(A)
    Gpf.SetPinMode(20, OUTPUT);
    // ICの 6 番ピンに接続(B)
    Gpf.SetPinMode(21, OUTPUT);

    // ICの 8 番ピンに接続(L:スタンバイ/ H:オペレーション)
    Gpf.SetPinMode(16, OUTPUT);
  end;
end;

procedure TForm1.Button1Click(Sender: TObject);
var
  i: integer;
  msec : integer;
begin
  if Gpf <> nil then begin
    msec := 10;
    Gpf.SetBit(16); // オペレーション
     // 200 ステップのモーターで、1回転
    for i := 0 to 49 do begin
      Gpf.ClearBit(20);
      Gpf.ClearBit(21);
      sleep(msec);
      Gpf.SetBit(20);
      Gpf.ClearBit(21);
      sleep(msec);
      Gpf.SetBit(20);
      Gpf.SetBit(21);
      sleep(msec);
      Gpf.ClearBit(20);
      Gpf.SetBit(21);
      sleep(msec);
    end;
    Gpf.ClearBit(20);
    Gpf.ClearBit(21);
    Gpf.ClearBit(16); // スタンバイ
   end;
end;

procedure TForm1.Button2Click(Sender: TObject);
var
  i:integer;
  msec : integer;
begin
  if Gpf <> nil then begin
    msec := 10;
    Gpf.SetBit(16); // オペレーション
     // 200 ステップのモーターで、1回転
    for i := 0 to 49 do begin
      Gpf.ClearBit(20);
      Gpf.ClearBit(21);
      sleep(msec);
      Gpf.ClearBit(20);
      Gpf.SetBit(21);
      sleep(msec);
      Gpf.SetBit(20);
      Gpf.SetBit(21);
      sleep(msec);
      Gpf.SetBit(20);
      Gpf.ClearBit(21);
      sleep(msec);
    end;
    Gpf.ClearBit(20);
    Gpf.ClearBit(21);
    Gpf.ClearBit(16); // スタンバイ
  end;
end;

procedure TForm1.FormClose(Sender: TObject; var CloseAction: TCloseAction);
begin
  if Gpf <> nil then begin
    Gpf.ClearBit(20);
    Gpf.ClearBit(21);
    Gpf.ClearBit(16);
    GpIo_Driver.UnmapIoRegisrty(Gpf);
  end;
end;

end.